Showing posts with label needle felting. Show all posts

Monday, July 10, 2017

New Work

I continue to play with making marks -- and have added painting and needle-felting to the mix.  All in all the perfect combination for someone who is currently artistically unsettled, yet determined to accomplish something!  ;-)

First up...these small canvases, inspired by a pair of online videos that I purchased from my beloved City and Guild tutor, Linda Kemshall, and the programs she produces with her daughter Laura on DesignMattersTV: "Painterly Acrylic Landscapes" -- Parts I and II.

I've created four small (5" x 7") canvases...and attached to them bits that I've needle-felted on my Babylock embellisher.  It seems I've finally mastered this (no broken needles thus far!)...and I'm enjoying immensely the process of creating these small things using acrylic craft felt from The Shop, pieces of felted wool, roving, hand-dyed cheesecloth (YUM!), sari silk ribbon, and bits of roving from NORO 'Rainbow Rolls' (also available at The Shop).  Each is to be inserted into a floater frame; I'll be in Red Deer next week and  hope to find some there.  If not, I may have to mortgage the house to purchase them online... ;-)


In Green Pastures (C) 2017
5" x 7" - unframed

In Green Pastures - Detail

Canoes on Cranna Lake (C) 2017
5" x 7" - unframed

Canoes... - Detail

Dabbling...

Sometimes you think you've finished something, but it's not quite right...


Beside Still Waters (Before)

Something about this one fell into that category; the trees in the far background were too bright, so I went back in with some paint and...

Ahhh...that's a bit better...

Beside Still Waters (C) 2017 - unframed

Beside Still Waters - Detail

The fourth one is still Under Construction...as in...it's felted foreground isn't done yet...so you'll just have to stay tuned!

Meanwhile, I've quilted 'Wall'...and am preparing to apply a very narrow (1/4" or less) binding to it, preparatory to affixing it to a canvas.  I've trimmed it to 12" square...so...photos will be posted later.

And I've done some more mark-making...using a tree in my backyard and a couple of oil pastel 'crayons' I had kicking around.

Here are some samples of the Mountain Ash trunk (Rowan for my U.K. readers) 'subject':


And here are the samples/results in a red-brown and a dark grey:


I'm not quite sure what I'm going to do with these yet, except to know they invite stitch -- probably hand-stitch.  First, given the medium, they need to be 'cured' until later tomorrow afternoon or Wednesday.  Then I will heat set them (using a protective pressing sheet and a dry iron) and go from there.  I sourced the fabric from an online class in modern/improvisational quilting I took a few months ago. There was an awful piece...I cut it up and got all this wonderful white KONA cotton to work with.  The moral?  If you're willing to play, you can turn your "failures" into your next artistic "success"!  ;-)

P.S. for the knitters...I finally blocked this shawlette I finished a month ago.  It's a gift for a friend of mine...

Pattern: "California Skies" by Evelyn Uyemura
Yarn: Painted Desert by Knitting Fever - Colour #109
- Available at The Crafty Lady in Lacombe and elsewhere...


"California Skies" - Detail

Linking in to Nina Marie's Off the Wall Friday (at the last minute!)...and wishing you all a creative week!

Wednesday, March 29, 2017

Whole Lotta Makin' Goin' On!

Fun videos aside, I really haven't posted any artistic progress for over two weeks.  And...it's going to be April on Saturday.  Who'dda thunk it?!

The time has flown, what with work at The Shop, and buying a new car, and making new work for the up-coming Art Show & Sale in Lacombe (April 21-22).  

With that video I proved to myself that I could actually do a demo about something -- so I quickly asked if there were still a slot open for one at the Art Show and -- YES!  I'll be doing that same wee mono-printing demo there on Friday, April 21 at 3 p.m.  They'll give me an extra table on which to work, and I'll have access to the janitor's work room and sink for cleaning up.  All I need to supply is something to protect the table, and my mono-printing supplies.  The great thing is that I'll have at least four minis done with that technique, plus the one large piece I did last year for my 15 x 15 Group.


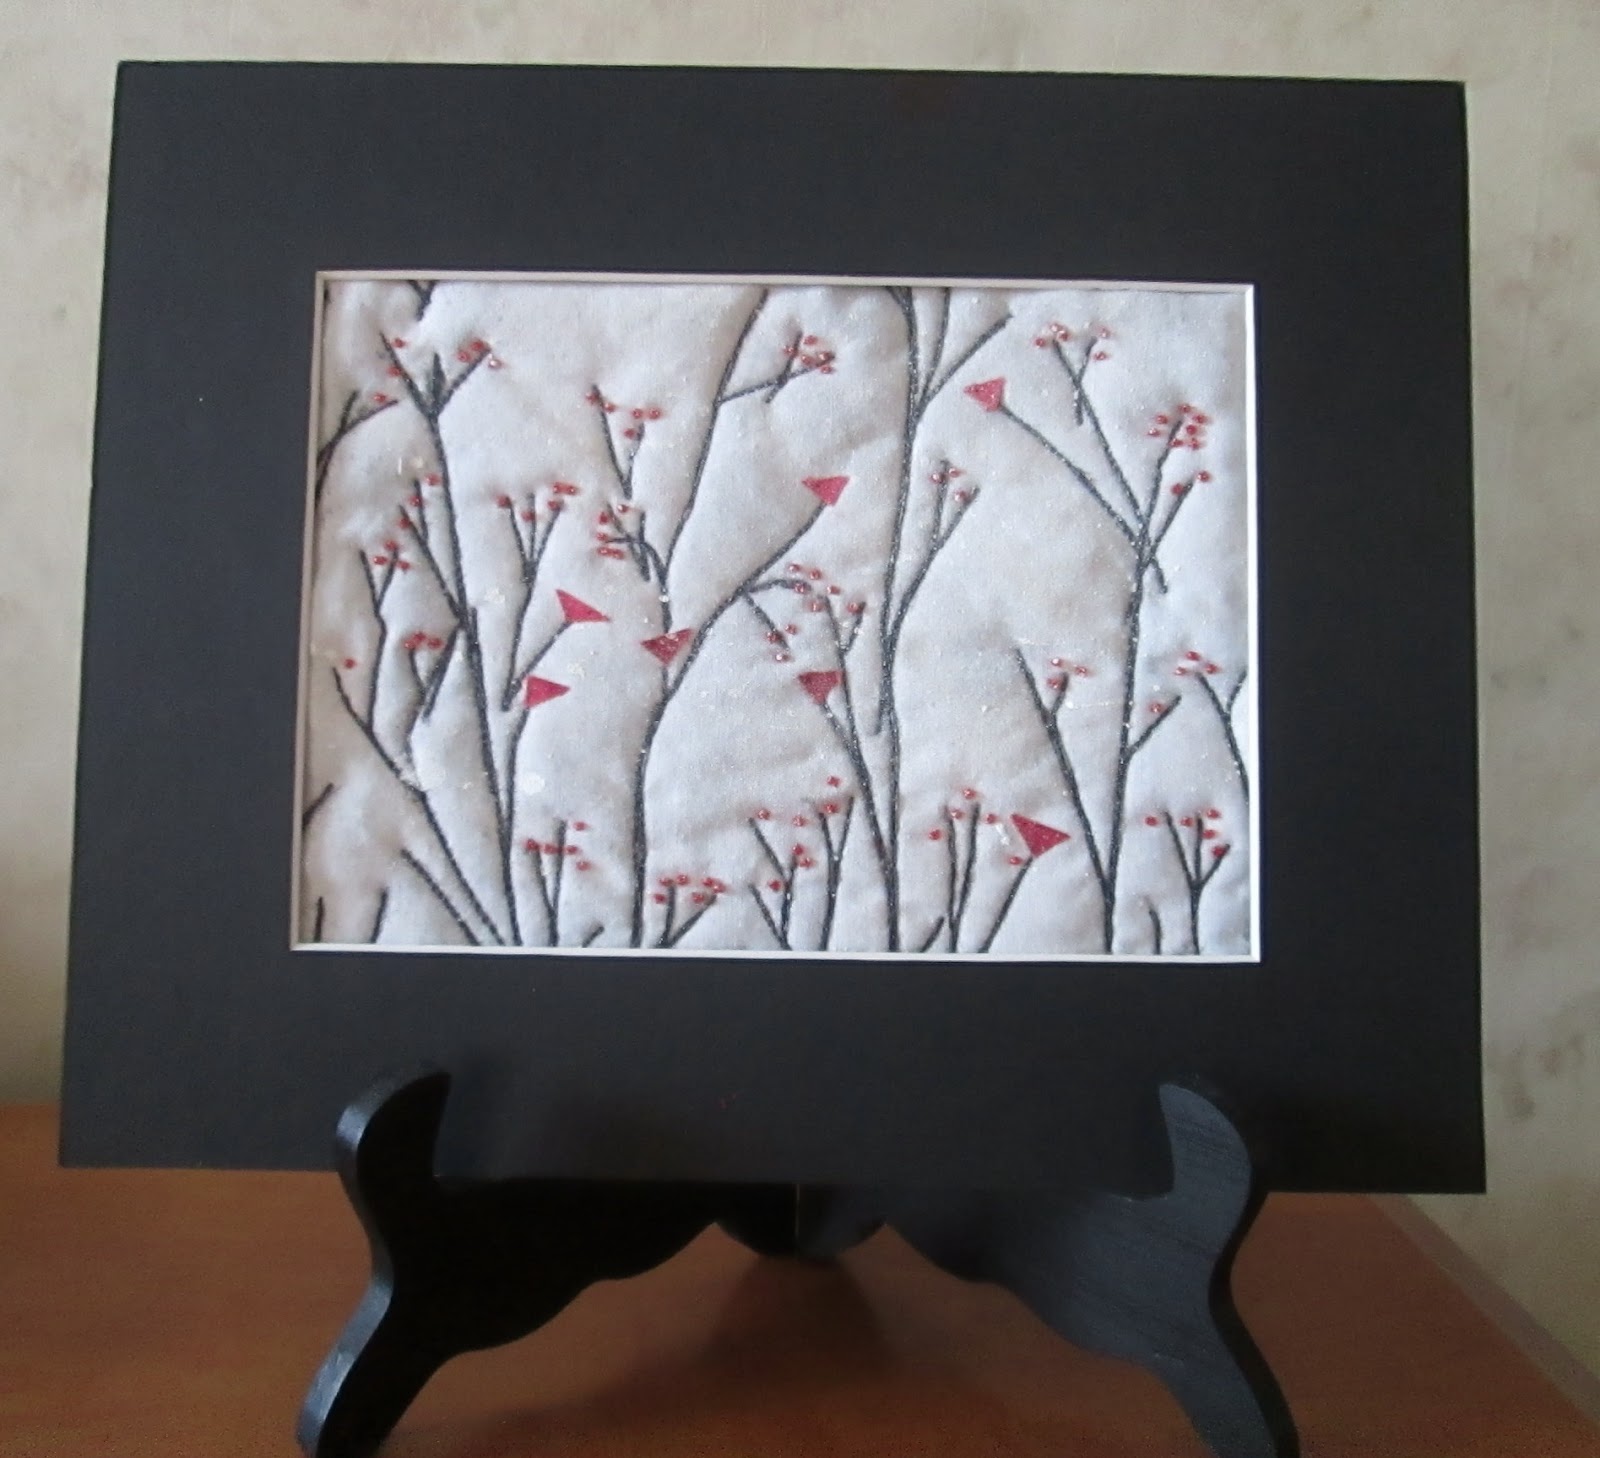
These new ones include two of the birds-and-beads pieces that people really seem to like...

"Town Hall Meeting" - 2017

"Family Reunion" - 2017

And a couple of new ones based on a photo I took of the sky in September...sometime...and can't locate (at least at the moment!)  


"Golden Autumn" - 2017
"Spring Greens" - 2017

Yes...the branches of those are mono-printed before stitching and yes -- they've been framed!  My manager at The Shop had taken them out of inventory because they'd been there for ages and not sold; she gave me a good price...and I bought several.  The two pieces above have mats and glass.  The one below does not:


"January Moon-set" - 2017

Also in the "something new" category of minis this year are these two, that I finished this morning...and as I want to make at least two more pieces, there may be more in this vein...

Needle-felted minis, mounted on mat-board:

"Coming Home" (2017)

"Spring Rising" (2017)

I've played with needle-felting before -- I even have an embellisher and I've taken a class -- but this time, inspired by my friend Mary who's taken up wet-felting with great results, I was determined to make it work.  I finished each piece with a bit of gentle wet-felting to 'set' the felt, but in truth they are quite soft.  "Coming Home" has had a light non-woven stabilizer fused to the back of it as it's composed of pre-felt (the sky) and acrylic felt (the land) sections.

"Spring Rising" is felted onto a square of recycled wool blanket that had been washed (and therefore lightly felted) before using. Not wanting to put them under glass, I searched the internet for mounting ideas and settled on one: I marked a hole in the mat under each corner of the given piece, and punched it out with an aul.  I then ran embroidery floss through the hole into the back of the piece and out to the back, and tied it there in a double knot.  I further secured each knot with artist's tape, thus:


I really enjoyed the process, and hope that others will like them enough to take them home.  Meanwhile, I have a few more minis to make, and some sleeves to attache to larger pieces...so I'm going off to link this to WIP Wednesday at The Needle and Thread Network.

Have a great rest of the week!


Wednesday, October 15, 2014

Ditching It

:-)  No, I'm not about to "ditch" blogging -- or anything else, for that matter.

"Ditching" is how I spent most of this afternoon.  Remember this wee quilt?  It's been almost a year since it was sandwiched for quilting...and put away.  It was being made for a babe that didn't survive to term.

The good news is that the young couple involved tried again, and baby Keiran arrived safe and sound just over a week ago!  Thus...the quilt has been brought out, it's folds opened and pressed, and the quilting has begun.

"Ditching" is what quilting guru Ann Petersen calls the machine preparation of the lines of a quilt -- from the borders inward and back outward again, and top to bottom -- before the body of the quilt is filled with the desired quilting design.

Using my walking foot, with a variegated (greys to black) cotton thread in the top and black Bottom Line thread in the bobbin, I "ditched" both sides of the narrow border of this Magic Tiles pattern, and then both sides of the main horizontal and vertical lines.  Now it's ready for some free motion fun!


Because the pattern is all irregular shapes and angles, I'm thinking of a 'free-hand' Baptist Fan.  This means I won't draw precise, evenly-spaced curves for the fan; rather, I'll aim for smooth curves but some might be closer than others.  I found a neat tutorial on this by Victoria Findlay Wolfe -- on her blog -- and decided to go that route.

It'll have to wait till Saturday, though; I'm working all day tomorrow and in Red Deer winterizing my car (winter tires, replace heavily chipped and cracked windshield, repair block heater cord) on Friday.  It's the windshield that takes the time...I'll be spending most of that time knitting.


These may be finished, but there's another pair on the needles and two more waiting in the wings.  Then there's a Fair Isle cowl and an infinity scarf to finish...

And so it goes.

"What about the needle felting?" you ask?

I returned a week ago from a three day needle felting workshop at the MAIWA loft on Granville Island in Vancouver, taught by Briony Jean Foy of Madison, WI.  Formerly a lawyer, Briony went back to university in 1996 for an MFA, first working in weaving and then falling in love with needle felting, usually using a single needle, by hand, creating unique patterns and shapes.

This workshop was an introduction to her world.

I'd enrolled hoping to extrapolate the information to work on my embellisher (needle-felting machine)...and I believe I still will do some of that BUT I have also discovered more of what I can do by hand to add interest to my landscapes (my miniatures) and to create other pieces that stand alone.  Suffice to say I have a great deal more learning to do in this medium...but here are some photos of the samples I made in the workshop:

Day 1 - first samples with yarn, ribbon & fleece
on commercial acrylic felt substrates
Introducing grids -- roving, yarn, pre-felt strips
on plaid wool suiting substrate

Free-form grid - commercial felt, roving, ribbon

Day 2 - Leaves of yarn & fleece on commercial felt
Day 3 - a free-form tree: yarn, roving, fleece on same substrate


Day 3 - another tree experiment -- roving & fleece

Close up of tree trunk

Although I particularly enjoyed playing with the roving and hand-dyed fleece (brought from my own stash), I also tried my hand at making a more dimensional shape with a single needle:

Manipulated floral shape on 2 layers of commercial felt

Even more than the workshop, I enjoyed the entire experience of being on Granville Island for the better part of three days.  There are two MAIWA shops on the island -- "Hand Prints", the source for clothing and home decor items, largely from India, hand-dyed and embellished; and "Supply", my favourite place, brimming with bolts of hand-dyed fabrics (usually natural dyes), undyed silk fabric and yarn, hand-dyed yarn, wool roving (merino, blue-faced Leicester, Corriedale...), silk roving, mulberry silk yarn...shelves of books, shelves of containers of dye powders -- madder, marigold, cochineal, indigo, logwood, walnut (to name a few) -- fabric paints, stencils, knitting, embroidery and felting needles, packages of pre-felt sheets -- it's a textile artist's dream.

Also on the island was a silk-weaving shop -- with a floor loom in action most of the time; a tapestry shop; B.C. Arts Council shop; Opus paint supplies; stationers; pottery studios; glass studios; a micro-brewery; restaurants galore -- and of course, the indoor market with every conceivable foodstuff for sale.  The colours and scents were dazzling and a bit overwhelming.

Here is a glimpse of one side of our classroom in the Loft -- the table immediately behind mine:


Imagine that abundance multiplied in the rest of the room...and spilling out into the entire environment...and you will understand why I came home not just with samples and a binder of instructions, notes and resources, but also 3 lengths of undyed silk fabric, 2 skeins of undyed lace-weight silk yarn, extra felting needles, a length of madder-dyed Indian cotton fabric, and a package of merino-and-silk roving in shades of greens and blues...and a head full of ideas, such that I've had to put it all down till I can focus.

And yes, there was other scenery too...but this post is long enough and it's time for bed.  I'll save that for another time.

Before I go, though, I'm linking this to WIP Wednesday on the Needle and Thread Network...Catch you later!